Reviving Old Brass and Copper Accents in Your Home

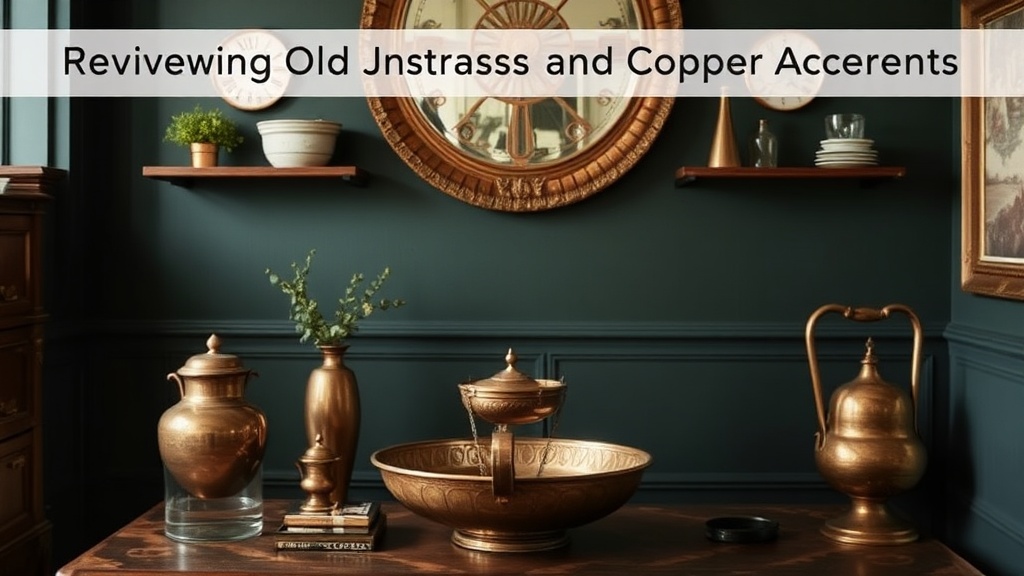
A heavy brass candlestick sits in the corner of a dining room, coated in a thick, greenish-black film of oxidation. It looks dull, almost neglected, as if it's lost its soul to time. This happens often with vintage metalwork. Brass and copper are beautiful, but they react to oxygen and moisture, leading to a patina that can quickly turn from "antique charm" to "just plain dirty." This post explains how to clean, polish, and maintain these metals to bring back their original luster without ruining the underlying material.
How Do I Clean Old Brass Safely?
You can clean old brass safely by using a gentle abrasive or a mild acid, such as lemon juice and salt, to break down the oxidation. It's important to start with the gentlest method first. If you jump straight to heavy-duty industrial cleaners, you might strip away the very character that makes the piece valuable.
For light tarnishing, a simple solution of warm water and a few drops of Dawn dish soap works wonders. Grab a soft microfiber cloth and a bowl of warm, soapy water. Dip, wipe, and dry immediately. Never let metal sit in water to dry—that's a recipe for water spots and uneven discoloration.
If the piece is heavily oxidized, you'll need something with a bit more bite. A common household trick involves mixing equal parts white vinegar and salt. Apply the mixture to the surface, let it sit for about ten minutes, and then scrub lightly with a soft-bristled toothbrush. It's a bit of a mess, but it works. Just be careful with intricate carvings where the vinegar might settle and cause pitting if left too long.
Pro Tip: If you're working with a high-value antique, skip the DIY acids and use a dedicated metal polish like Brasso. It's a classic for a reason. It provides a controlled way to remove tarnish without the unpredictability of homemade concoctions.
The Difference Between Brass and Copper
People often confuse the two, but they require slightly different approaches. Brass is an alloy of copper and zinc, while copper is a pure elemental metal. Because of this, copper is often more reactive and can turn a deep reddish-brown or even green (verdigris) much faster than brass.
| Metal Type | Typical Appearance | Common Tarnish Color | Best Cleaning Agent |
|---|---|---|---|
| Brass | Gold-like, yellowish | Dark brown or dull yellow | Brasso or vinegar/salt |
| Copper | Reddish-orange, warm | Deep brown or green | Lemon juice and salt |
What Is the Best Way to Polish Copper?
The best way to polish copper is to use an acidic agent like lemon juice or white vinegar combined with salt to strip away the oxidation. Copper is quite soft and reacts quickly to its environment. If you have a copper bowl or a set of vintage kitchenware, you'll notice the color shifts based on the humidity in your home.
For a quick-fix method, try this:
- Cut a lemon in half and sprinkle salt over the exposed flesh.
- Rub the lemon directly onto the copper surface.
- Rinse thoroughly with lukewarm water.
- Dry the piece immediately with a lint-free cloth.
The catch with copper is that it's incredibly easy to over-polish. If you scrub too hard, you can actually create micro-scratches that make the metal look cloudy. If you're working on something delicate, like a copper kitchen utensil, stick to a very soft cloth and a mild paste. It takes more time, but the results are much smoother.
Sometimes, people worry that cleaning the metal will ruin the "vintage look." That's a valid concern. If you want to keep a bit of the aged character, don't polish the entire object. Instead, polish only the raised details or the flat surfaces, leaving the recessed areas to retain their natural patina. This creates a beautiful depth and makes the piece look even more expensive.
How Do I Prevent Brass and Copper from Tarnishing Again?
The most effective way to prevent tarnish is to limit the metal's exposure to oxygen and moisture through the use of a protective coating or wax. Once you have achieved the desired shine, your goal shifts from cleaning to preservation.
One method is to apply a thin layer of Renaissance Wax. This is a microcrystalline wax often used by museums to protect metal-based artifacts. It creates a microscopic barrier that prevents oxygen from reaching the surface. It's much more durable than standard car wax and won't leave a greasy residue. If you're someone who enjoys understanding the properties of alloys, you'll appreciate how much a simple physical barrier helps.
Another option is a specialized metal sealant. These are sprays or liquids that can be applied to the surface to "lock in" the look. However, be careful with this. Once you seal a piece, it's much harder to clean it later without stripping that seal entirely. It's a permanent decision for the life of that object.
Keep your metal items in a low-humidity environment. If you have a copper tray in a bathroom or a brass lamp in a damp basement, it's going to tarnish almost immediately. For items in the kitchen, make sure they are completely dry before putting them away in a cabinet. Even a tiny bit of moisture trapped in a drawer can cause a rapid buildup of oxidation.
If you're a collector, you might find that your pieces look better when they aren't "perfect." A little bit of age is good. It shows the history of the item. If you've spent time finding authentic vintage pieces, you know that the patina is often part of the story. Don't feel the need to make everything look brand new. Sometimes, a subtle glow is much more sophisticated than a blinding, high-gloss shine.
Maintenance is really about balance. You want the metal to look cared for, not necessarily factory-new. If you're working on a piece of furniture or a decorative accent, think about how the light hits it. A slightly aged brass handle on a dresser looks much more intentional than a shiny, modern one. It adds weight and history to a room without looking like it belongs in a showroom.
When you're cleaning, always test a small, inconspicuous area first. This is a rule of thumb for any DIY project. You don't want to realize you've accidentally stripped the plating off a vintage candlestick because you used a harsh abrasive. A tiny dot on the bottom or the back is your best friend here.
If you're working with older, more fragile items, you might consider using a soft brush instead of a cloth for the initial stage. This helps remove loose debris without scratching the surface. It's a slower process, but it's much safer for the integrity of the metal. It's worth the extra ten minutes to ensure you don't cause permanent damage.
Lastly, keep an eye on your storage. If you keep your brass collections in velvet-lined boxes, make sure the velvet is clean. Dust can actually act as an abrasive and contribute to dullness over time. A clean, dry storage space is the best way to ensure your hard work pays off and your items stay bright for years to come.
Steps
- 1
Identify the Metal Type
- 2
Prepare a Natural Cleaning Paste
- 3
Gently Buff the Surface
- 4
Rinse and Dry Thoroughly